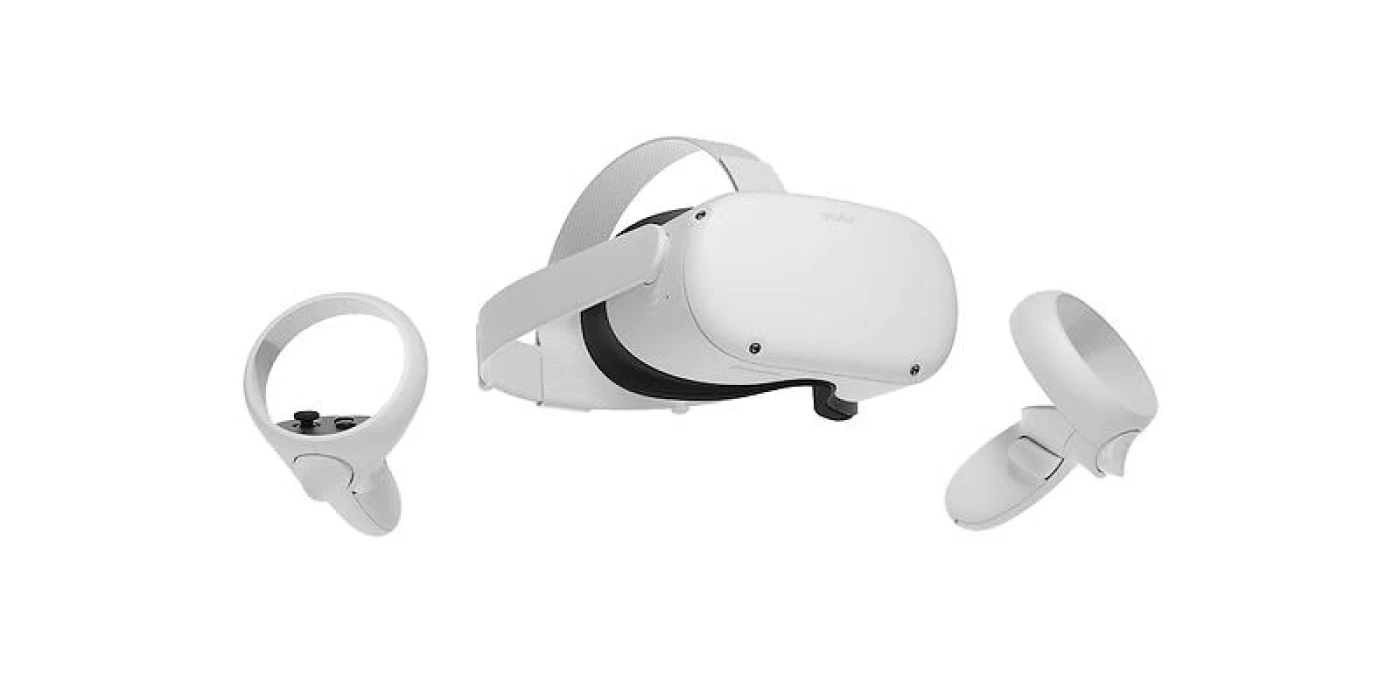
Getting the Oculus Quest 2 working in Unity can be a bit of a hassle, but the OpenXR package actually makes it kind of easy. Here's a quick tutorial on how to get started.
Developing VR games can be a hassle, and the sheer amount of plugins and different ways to do things doesn't make it easier. OpenXR is an open and free standard that aims to make it easier for everyone involved.
This tutorial covers how to get OpenXR working in Unity using the Meta Quest virtual reality headsets, primarily Quest 2, Quest Pro, Quest 3 and Quest 3s.
Table of Contents
Quest and OpenXR in Unity
This tutorial is easy to follow and starts out with a blank Unity project. We're using Unity 2020.3.19f1, but any modern version of Unity will work just as well.
Step 1: Download OpenXR
First of all, we're going to download and install the OpenXR package from the Package Manager inside of our Unity project. Click Window - Package Manager. In the Packages dropdown, change selection from In Project to Unity Registry. Scroll down to — or search for — OpenXR Plugin, select the package and click Install.
You will now be asked whether or not you want to activate backends for the new Input System — click Yes and allow Unity to restart. Once your project has reopened, the installation of the OpenXR Plugin is finished.
Step 2: Activate OpenXR
Once the OpenXR Plugin is installed, we have to activate the plugin in our project. Click Edit - Project Settings and scroll down to the XR Plug-in Management option in the list to the left. This will open the OpenXR Settings for each platform; Windows, iOS and Android, each in separate tabs. Check the OpenXR checkbox on the Windows and Android tabs.
You will now see a small error symbol next to the OpenXR checkbox on the Android tab. Click the error symbol to get more information — it seems like we have multiple issues in our scene;
- Gamma Color Space is not supported when using OepnGLES.
- At least one interaction profile must be added. Please select which controllers you will be testing against in the Features menu.
- Lock Input to Game View in order for tracked pose driver to work in editor playmode.
Click Fix All in order to get Unity to automatically solve the errors it can by itself. The Gamma error and the Lock Input warning will be fixed, but the interaction profile warning is still there. Let's fix it in the next step.
Step 3: Set the Controller Profile
In order to get rid of the warning about the lack of interaction profiles, we'll select the option OpenXR to the left in the Project Settings window. If you can't see this option, it's probably because it's hidden underneath the XR Plug-in Management option; click the small arrow to expand it.
In the OpenXR settings panel, there's a section called Interaction Profiles — this is where you add the Oculus Touch controller profiles. Simply click the plus (+) dropdown to the right of the section and select the Oculus Touch Controller Profile from the dropdown list. Important! You need to add the Oculus Touch Controller Profile to the both the Windows tab and the Android tab; just like in the OpenXR Plug-In Management settings, these settings are set for each platform independently.
That's it — Oculus Touch setup in Unity is now complete!
Using the Oculus Touch Controllers
If you want to track an object in Unity to the Quest controllers, do the following:
- Select the GameObject, i.e. a simple cube mesh
- Click Add Component and select XR - Tracked Pose Driver (New Input System)
- In the Tracked Pose Driver component settings, click the plus sign next to the Position Action and select Add Binding
- Double click the newly added
and select the correct binding for the tracked position; Path - XR Controller - XR Controller (RightHand) - Device Position. - Now do the same thing for the tracked rotation; Path - XR Controller - XR Controller (RightHand) - Device Rotation.
This might seem complicated, but once you get the hang of it it's actually really simple. Just like the new Input System in Unity, once you get the hang of it, it's really straightforward.
OpenXR Sample Scenes
The OpenXR Plugin for Unity comes with a couple of sample scenes which lets you get started with the different controllers. One of these is the Controller sample, which allows you to test both controls, all buttons and different tracking origins in a really smooth way.
To open the OpenXR Plugin Sample Scenes, open the Package Manager, select the OpenXR Plugin and click the Samples dropdown menu. Here you can import three samples;
- Controller
- Meshing Subsystem Feature
- Intercept Feature
Simply click the Import button next to the sample you want to import to your project. Again, I really recommend the Controller sample since it lets you get started with all the controls and different tracking options at the same time.
